Tag: made by me

Kitten-Proof Coasters

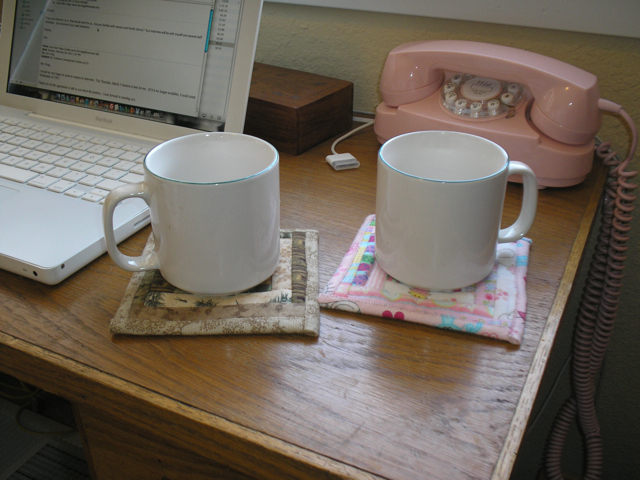
We have a lot of wooden surfaces at our house, so we like to use coasters. I recently made my husband and myself each one out of flannel.

coasters under mugs

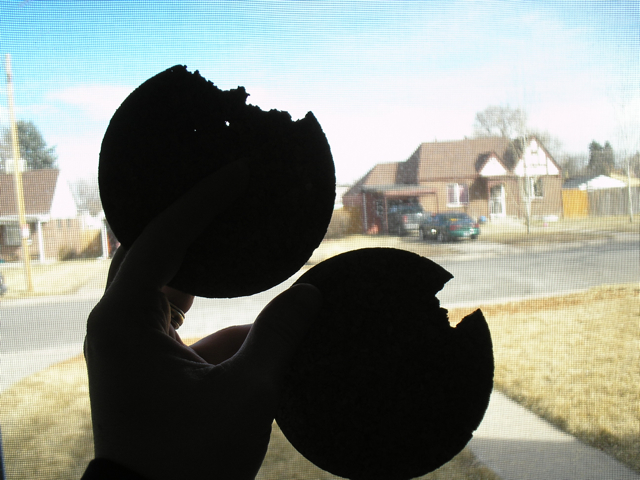
I didn’t just wake up one day with the urge to quilt coasters, however. The impetus was a small roommate who developed a taste for cork.

cork coasters

These are ones we caught him chewing on early. We have become vigilant about storing them when not in use, but all it takes is one trip to refill one’s coffee mug, leaving Hamlet supposedly snoozing in his bed in the study, to return to a spread of little leftovers from his second breakfast all over the carpet. We bought a 25- or 30-pack of them several years ago, and we are now down to two or three, and they all have the beginnings of that Pac-Man shape.

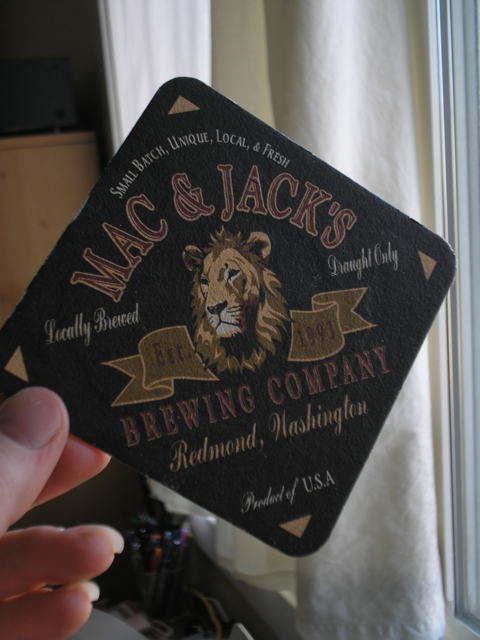
We used to have a collection of cardboard bar coasters, but they degraded with use and we started to care more about having a house that looked like grown-ups lived in it, so most of them didn’t get moved to the last state with us and most of the rest didn’t move to this state. We only have a few special ones left.

cardboard coaster

So I decided to make coasters and thought absorbent flannel might do the trick.

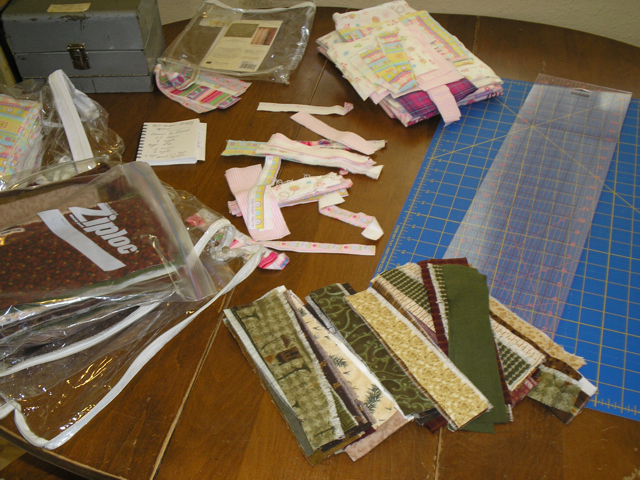
Happily, I had a lot of flannel left over from previous projects, some in very husbandish colors and some pink. My compulsion to save all little leftover bits comes in handy.

flannel fabric scraps

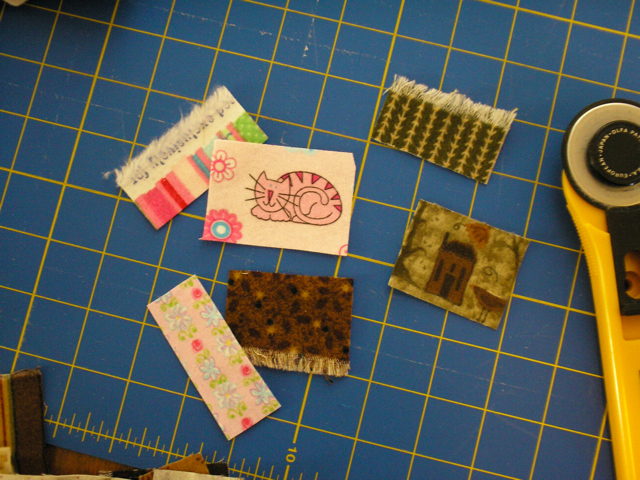
I picked a picture for the center of each coaster and trimmed it. I didn’t measure it carefully or anything. Just trimmed.

middles cut

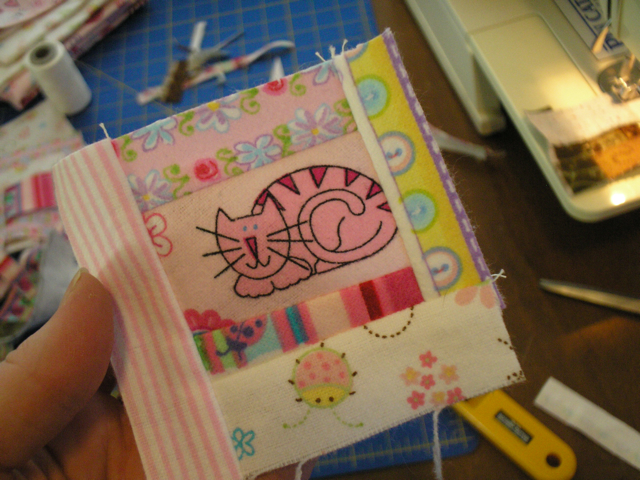
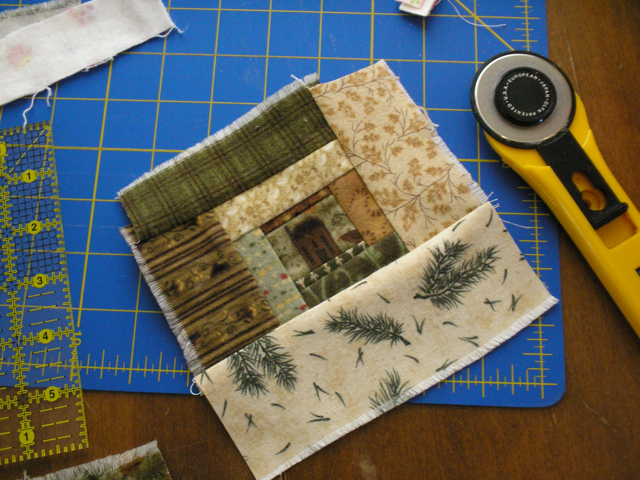
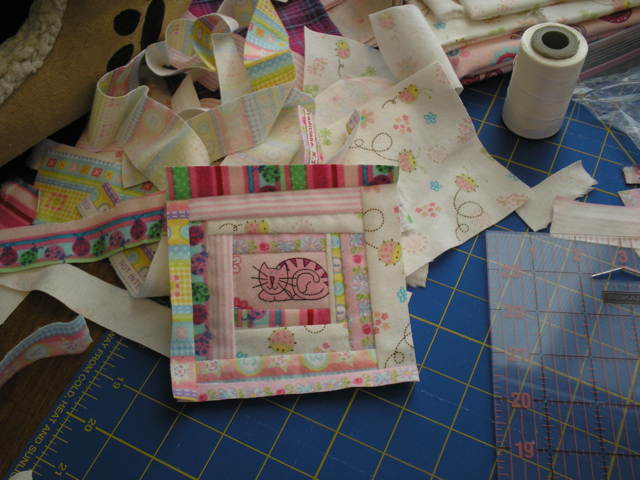
Then I did a little log-cabin-esque thing around it, except not in a circular way. I did not plan this out. I just sewed strips of about the right length where it looked like a strip was needed, and trimmed before adding a perpendicular strip. I ironed these as I went.

pink cat center

And I trimmed the strips themselves when they were too wide. I tried to make them slightly different widths and lengths, so that my not-measuring looked casually artistic instead of like a bunch of mistakes.

brown house center

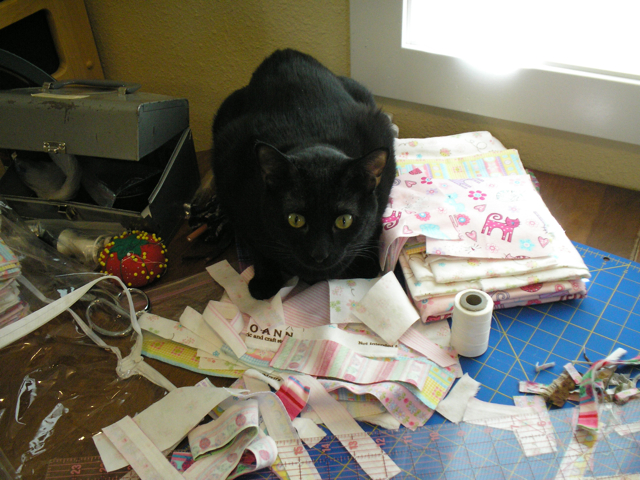
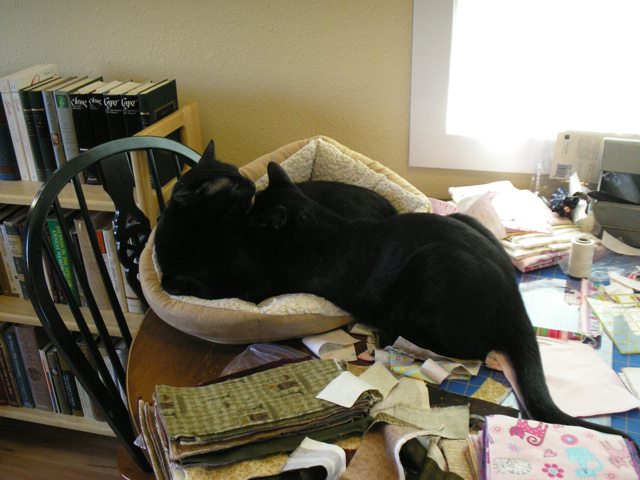
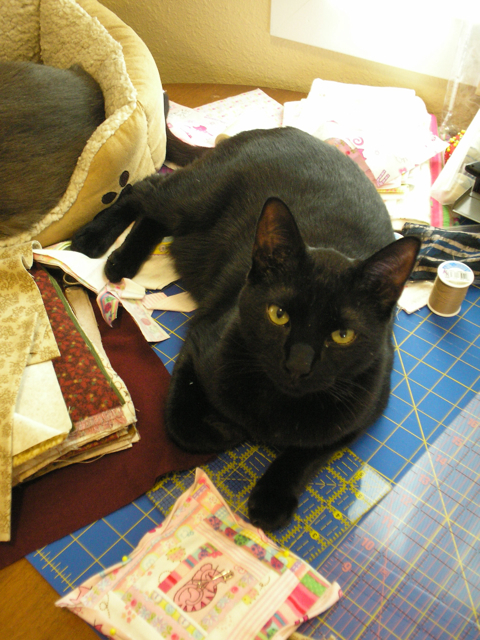
I can’t sew anything without gaining some help.

black cat in pile of fabric

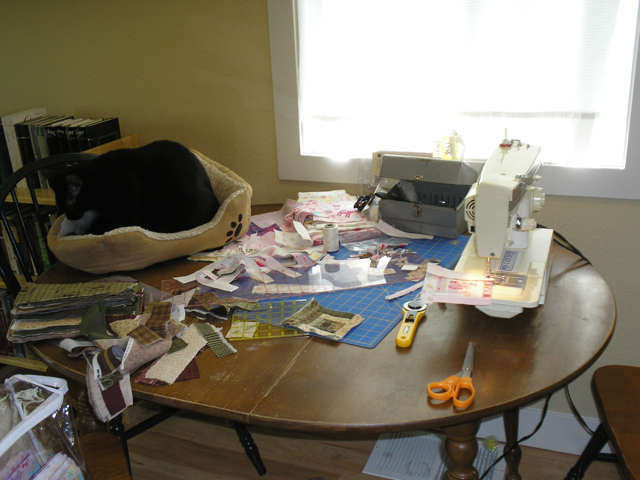
I found Tristan a bed. Here you can see my lovely studio dining room kitchen area table and my fantastic 6 by 6 inch yellow square ruler that I was using to (surprise) square everything up.

cat in bed on sewing table

You can see I worried that my pink one was too straight so as a last-ditch effort to make it funkier, I set my last dark strip at a jaunty angle.

finished pink coaster

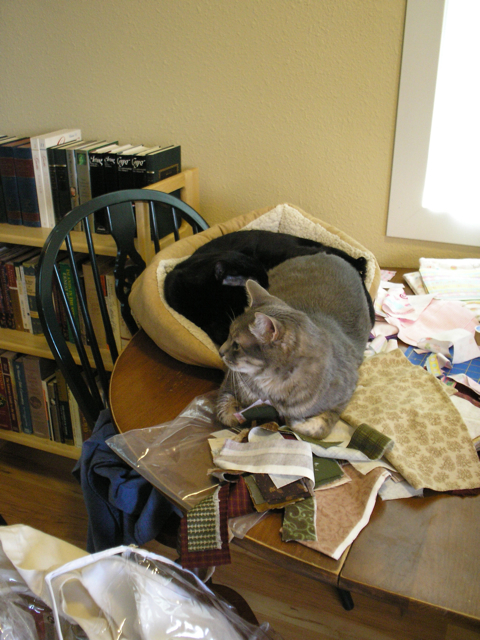
The coaster-eater himself joined us.

two cats in bed on table

The piece of flannel I cut for each back was about three-quarters of an inch bigger than the front all the way around (so about an inch and a half wider total in both directions). I’m not sure about that (I was winging this and didn’t take notes), but I folded the sides in twice and the resulting binding is between a quarter and a half inch, so I am retrospectively declaring it as probably true.

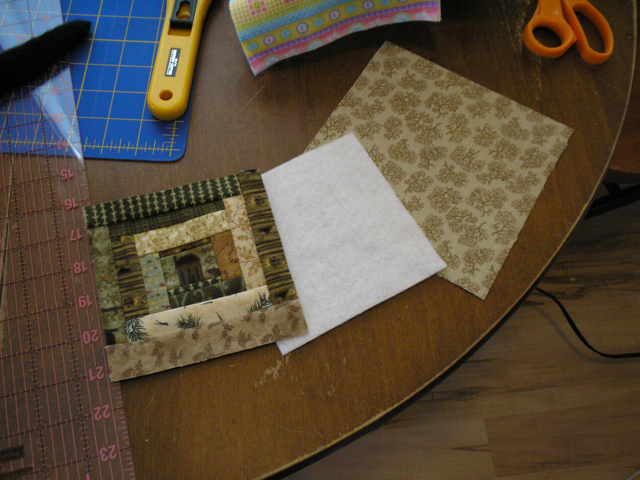
I used craft fleece for the batting of the coaster quilt block. It is cut the same size as the coaster front. I did square up the coaster front at this stage too. My finished size was 5 by 5 inches.

layers of coaster

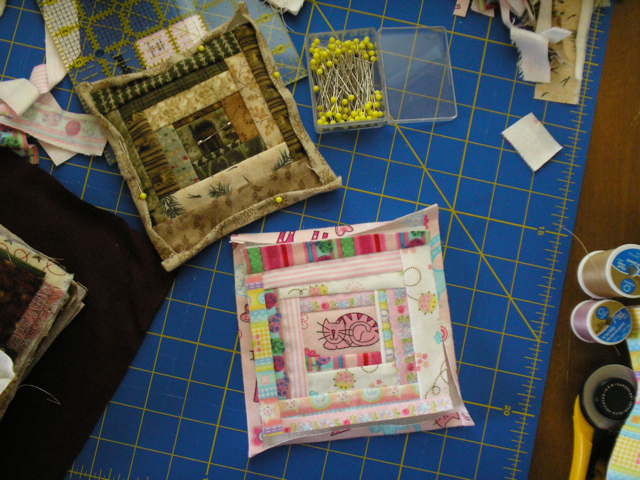
Then I pinned them all together and folded over the edges to create my binding. I ironed the folds at this point so I could picture the finish projects and pin them better. I did not actually quilt these. I don’t see the need.

coasters layered but not bound

“These do not look edible, Pretty Lady!”

cat on cutting mat

Percival joined us to supervise the finishing up.

cats spilling out of bed onto fabric

I sewed the binding down by hand, but it would be easier and work out just as well to do it by machine. I think I mainly did it by hand because I needed to put my machine away so we could use the table to eat on, and I also like having a little handiwork project.

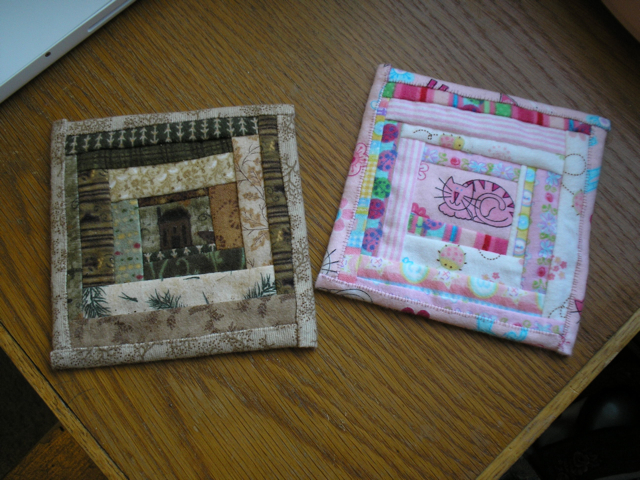
finished coasters

There you have it. Two non-appetizing, durable, and cute coasters. A nice afternoon’s work.
Roasted Red Pepper-Cream Cheese Spread

I made and photographed this roasted red pepper-cream cheese spread stuff* last October, but then I didn’t post it. I think mostly I became distracted and more interested in writing other things and then I didn’t want to post it right next to another recipe (the muffins). But I think also it’s because I was taking pictures in the waning afternoon light and I didn’t get a good finished product photo. Every time I looked at the ones I had, it looked kind of gross to me. I guess I’m telling you this as part of a disclaimer. It’s good, okay? Trust me.

*(I don’t know what it is, but I hate the word “spread” as a noun, so I’m always fumbling around when I talk about this: “You know, that red pepper cheese stuff you like?”)

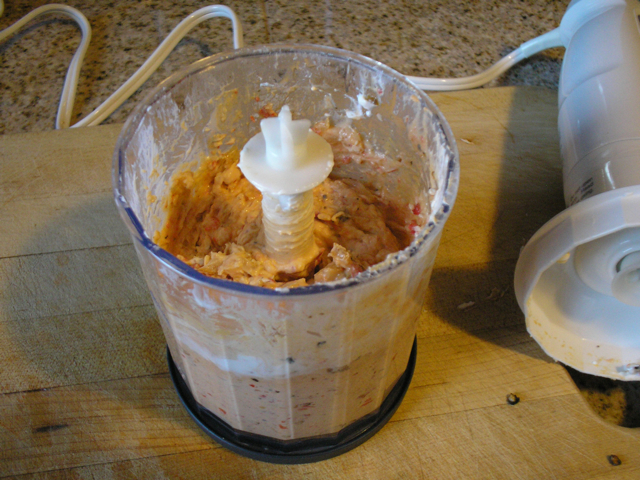
It looks like this. Ideally I would have it staged on crackers or with a nice loaf of bread on some Fiestaware, but this is as good as it gets for this entry.

finished spread in blender

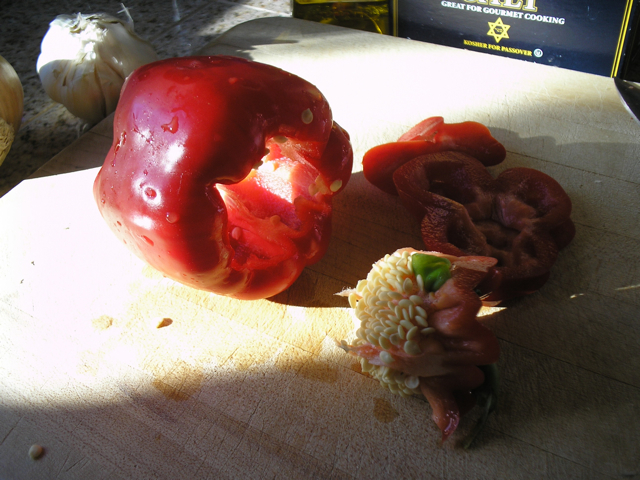
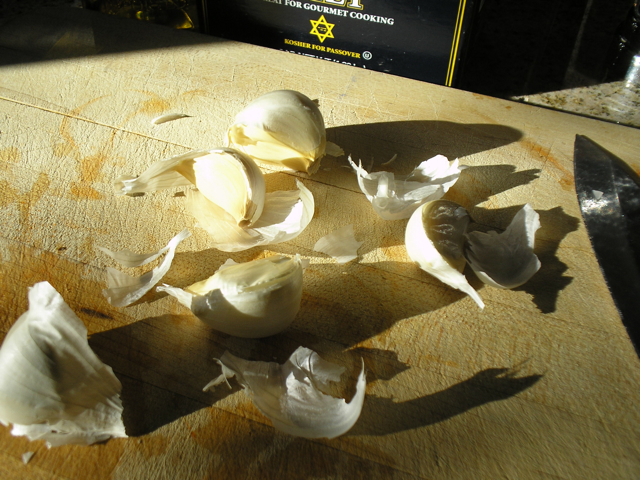
The ingredients are very pretty, however.

red pepper being cut up

garlic on cutting board

This recipe comes from Alton Brown. He includes zucchini, but I leave that out. I did make it once with it, but that was so long ago I can’t truthfully tell you how it compares. I know we did not dislike it with the zucchini, but the husband is not a big fan of squash so I suspected that he would like it better without it. Then that just became how I made it.

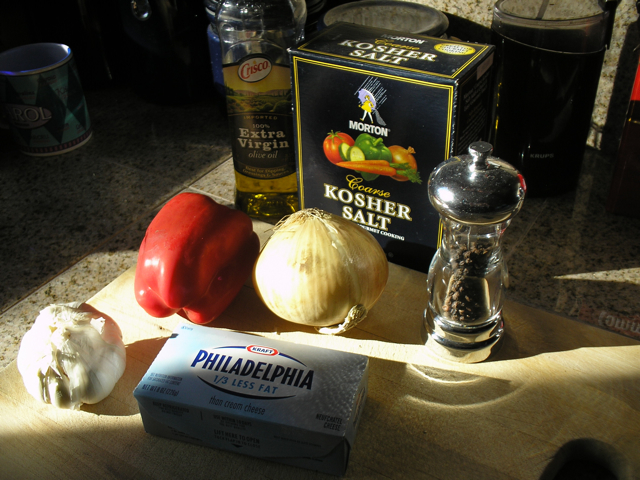
ingredients

You need onions, garlic, a red bell pepper, olive oil, salt, pepper, and cream cheese. I assume you can add other vegetables for variety.

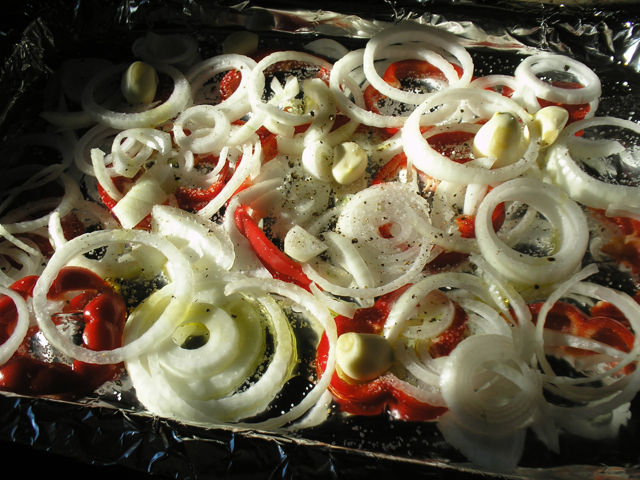
Alton Brown tells you to mix up the vegetables and the olive oil in a bowl before putting them on the cookie sheet, but I think that’s just getting a bowl greasy unnecessarily. I spread the cut vegetables out and dribble olive oil over them (I don’t measure; Rachael Ray* taught me that a tablespoon of oil is about as much as a circle around a frying pan). Then I take tongs, stir a little, and even it out so they’re not all in a pile.

*(This is the paragraph in which it becomes obvious that I went through a Food Network stage about five years ago.)

vegetables on cookie sheet

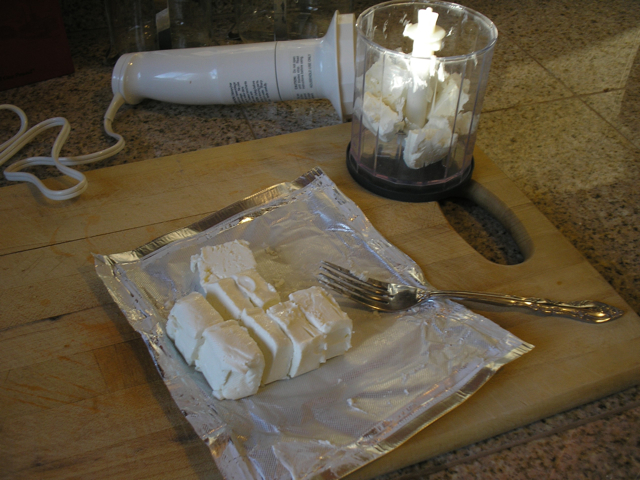
I don’t have a food processor, so I’m using this little blender attachment dealie that came with my stick blender. This would certainly be easier in an actual food processor. Since I have to do this in two batches and my bowl dealie (what is that thing called?) can’t hold a whole brick of cream cheese, I have to cut it into pieces at this point. I throw the cream cheese in the freezer for ten or fifteen minutes to harden it a little so it’s easier to cut into little chunks.

cream cheese in chunks

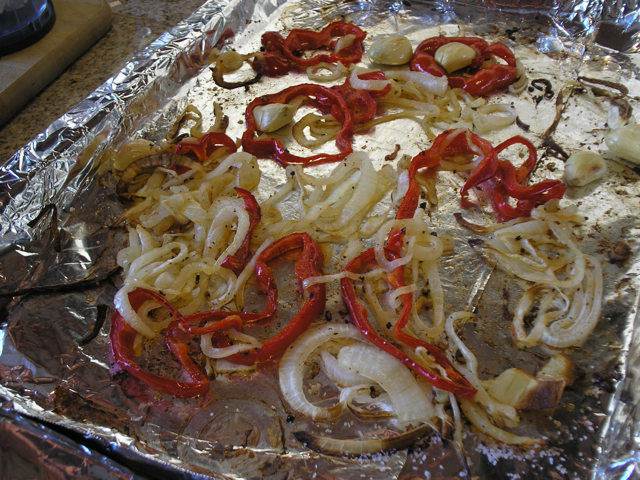
When the roasted vegetables look like this, take them out of the oven. Alton Brown says to let them cool completely, but I live dangerously and just let them sit until they aren’t burning hot to the touch.

cooked vegetables on cookie sheet

The beauty of the aluminum foil, in addition to it meaning no scrubbing of the cookie sheet if you do it right (seems like I always have a corner that develops a little hole and leaks), is that you can pick it up and guide/slide your vegetables into the food processor bowl without hassling with picking up every scrap of onion with tongs or fingers.

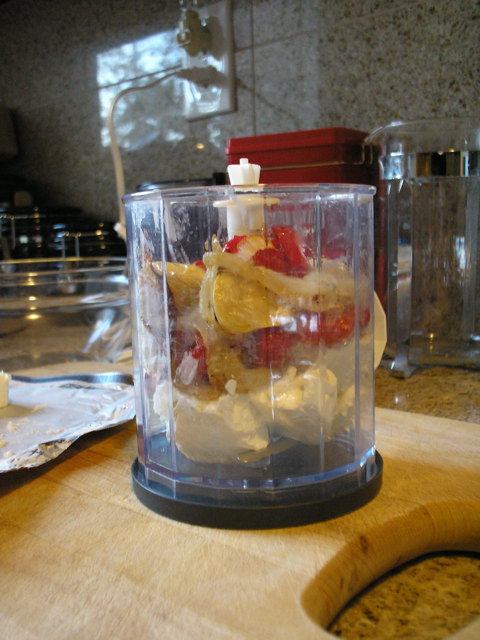
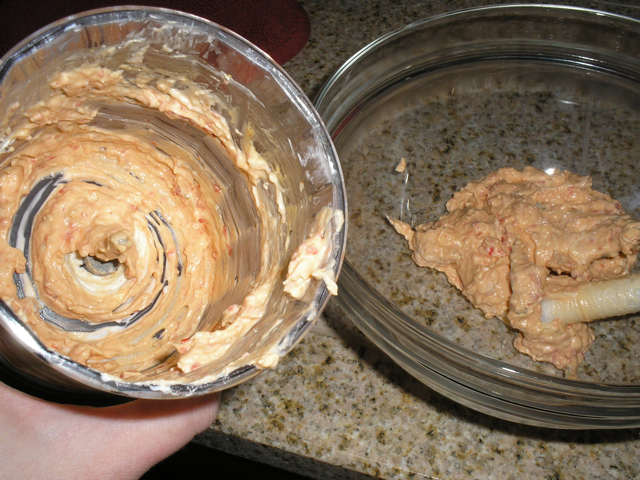
I throw half of the veggies in with half of the cream cheese and blend it. I have to stop a lot and take my fork and make sure there aren’t chunks missed or stuck. Then I put the mixture in a bowl and repeat the process with the other half.
ingredients in blender

mixed spread

These step-by-step photos are thrilling! Okay, that’s the end. After I have the second half mixed, I throw the first half back in with it, stir it with my fork, and call it good.

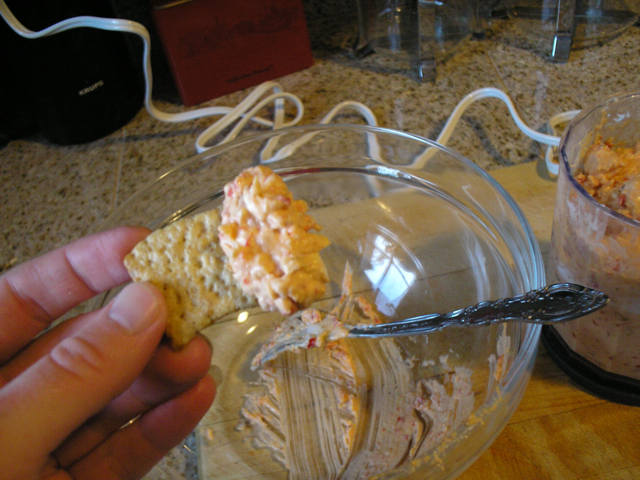
This red pepper-cream cheese stuff goes well with bread or crackers. It could also be a filling for celery. It’s more spreadable if you let it come to room temperature before serving.

spread on cracker

Told you the photo of the end result was kind of unattractive. Sorry about that!

Spinach and Feta Muffins

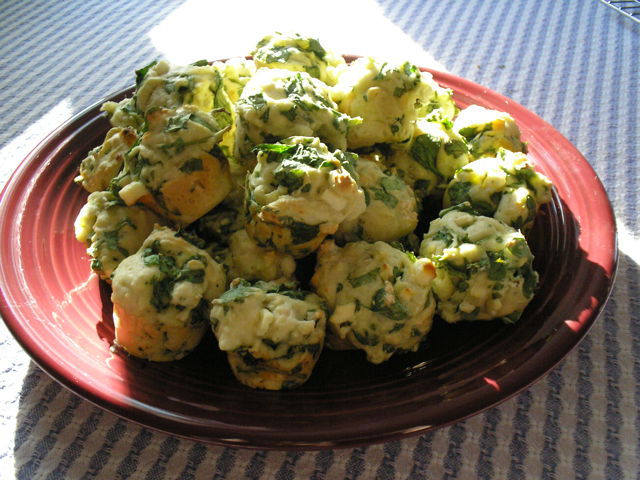
This spinach and feta mini-muffin recipe came from Flickr user Dieting elsie who is part of the Laptop Lunches group there. We will come back to the Laptop Lunch thing. First, the muffins.

spinach and feta muffins on plate

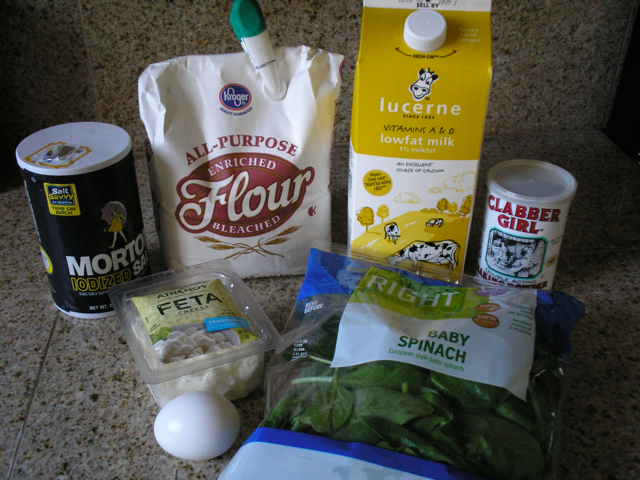
I know having the ingredients all on the counter is kind of a food blog cliche and is made fun of a little in some circles, but I’m going to do it anyway because I find it helpful to see what someone bought for some recipes. Sometimes it’s hard to picture an unfamiliar ingredient or to know what to look for in, say, the cheese department.

Plus, I think it’s interesting to see the variations in packaging and availability in different parts of the country.

ingredients for muffins

For instance, Kroger brand flour? I didn’t know what that looked like two months ago. I’d heard of Kroger, but that’s it. And now it’s here on my counter!

It’s the little things.

Spinach and Feta Mini-Muffins

275g plain flour (2 cups + 2 tbsp + pinch)
1 tbsp baking powder
1 large egg
225ml milk (7.6 oz)
1 tsp sea salt
100g baby spinach leaves (torn up a bit) (3.5 oz)
100g feta, in small cubes (3.5 oz)

Mix first five ingredients well, but not letting in too much air, so just folding really, then add spinach and feta. Grease a 24 mini muffin tin (I used olive oil). Cook on 200 C (~400 F or a little less) for 20 minutes.

Okay. Dieting elsie’s recipe was in metric, but fortunately Google helped me turn those measurements into something that made sense at the Kroger (actually, Kroger stores are called King Soopers here, just to be confusing) and in my American kitchen.

You can tell by my ingredient photo that I didn’t splurge on any fancy salt and that I just bought one of those 4 oz packages of feta that are in crumbles, not cubes. I filled up the liquid measuring cup with milk to about halfway between the 7 and the 8 oz marks. I eyeballed two-thirds or so of the 6-oz bag of spinach, and I used the whole 4 oz of cheese. I know that baking’s a science and people like to stress how important measuring is, but I think muffins have some leeway.

Also, I’ve made this same recipe at sea level and now at high altitude, and I can’t tell if there was any difference. So you can try it with confidence no matter where you are.

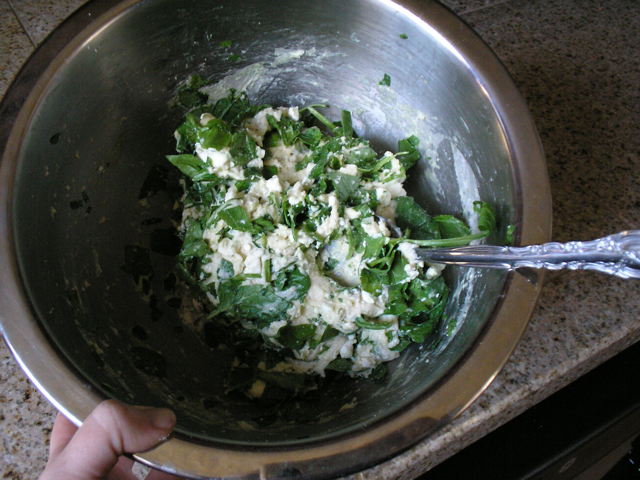
mixing bowl of batter

The muffin batter is really thick and barely hanging on to the spinach and feta. It’ll be okay, though.

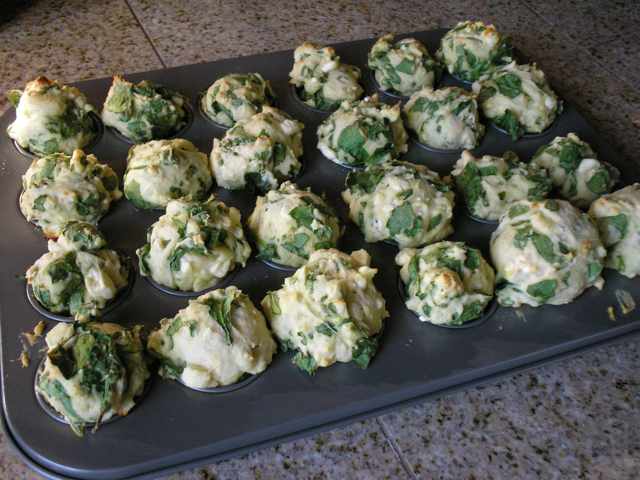
cooked muffins in tin

They also overflow the muffin cups when cooked, but I think they look flowery and festive. (They did this at sea level, too, so it’s not an altitude weirdness.)

So, a Laptop Lunch is what one packs in one’s Laptop Lunchbox, which is a kind of Americanized bento box. A bento is a traditional style of Japanese lunch that’s packed tightly in a cute little box. You can google this and find a bazillion examples and some webpages that explain it all a lot better than I can.

I don’t do the traditional Japanese thing, and I don’t do “real” bento boxes. I’m sure I will talk about this more later, but I stick to the Laptop Lunch brand system for a couple of reasons, but mainly just as a way to limit myself. I have to consciously choose what I am going to collect and where my boundaries are so I don’t end up (and I say this and link with love) out of control.

I eat at home these days, so I have not been packing bento lunches, but I still reflexively buy and prepare food with bentos in mind. I like having a stocked freezer of little things like mini muffins, two-inch tubs of spaghetti sauce, mini bagels, ravioli, baby cups of pudding, and post-Halloween clearance candy. I made and froze applesauce the other day, too. Most of these mini muffins will go in lunches once I’m back to packing them. (I ate two, and then I threw the rest in a gallon ziploc bag after they cooled and put them straight in the freezer.)

Here are a couple of photos of lunches that include muffins from the last batch I made.

laptop lunchbox with lunch

This lunch has cheese ravioli, a little spinach quiche thing, Wheat Thins, a Laughing Cow cheese wedge, apple slices, Teddy Grahams, a muffin, chocolates, and pistachios.

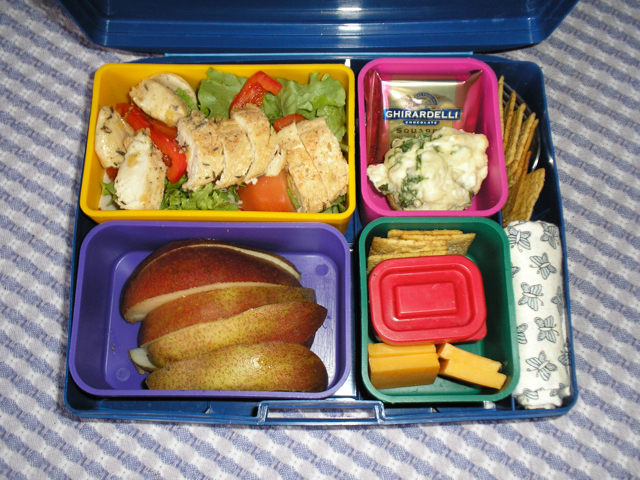
laptop lunchbox with lunch

This one has a quick salad with leftover chicken thrown on top, a chocolate square, a muffin, pear slices, Wheat Thins, cheddar cheese, and dressing (in the red box). That’s a little fork and a napkin there too. I probably made these close in time to each other, given the overlap of contents.

I have plenty more examples of bentos and links to cool blogs and everything. I’d meant to share them now, but I think I will wait so I don’t overwhelm or bore you.

So, go make these muffins, google up some bento photos, and come back later.

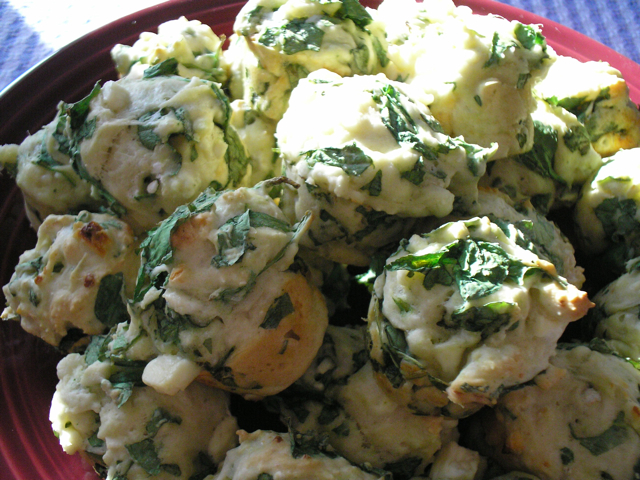
close up of muffins on plate

Onion Dip with Bacon

My husband is a big bacon and onion dip fan, but when we moved away from the Pacific Northwest, he no longer had access to his preferred brand.  We settled for a just-onion substitute in Nebraska, but here in Cajun Country, the pickings were slimmer and nothing tasted right.  So it occured to us that it couldn’t be too hard to make dip.

I looked in How to Cook Everything and Joy of Cooking for a basic onion dip.  Nothing seemed perfect, so I took ingredients from recipes in both to create something that sounded good.  And it was.  After I made it a couple of times, we took it to the next level by adding bacon.

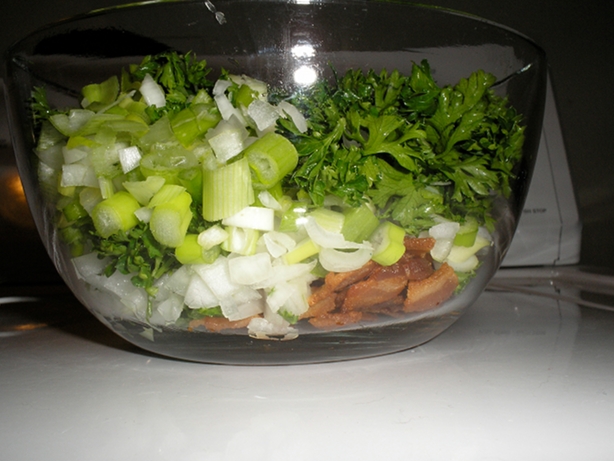
bowl of dip ingredients

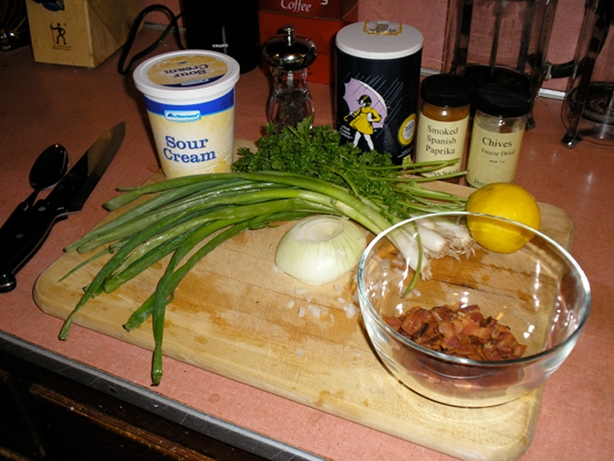
Please excuse the ugly and dirty counter, the coffee paraphernalia in the background, and the bad lighting. Taking pictures of this process was a spur-of-the-moment decision and I didn’t feel like staging. And I’m no Pioneer Woman, okay?

ingredients on counter

I use (approximately)

2 cups sour cream
~1/2 cup minced Italian (or regular) parsley
~1 cup minced onion (usually about half green and half yellow)
1/4 tsp paprika
1/2 tsp salt
fresh ground pepper
squeeze of lemon
~tsp of dried chives
4 strips of bacon, cooked and cut into bits

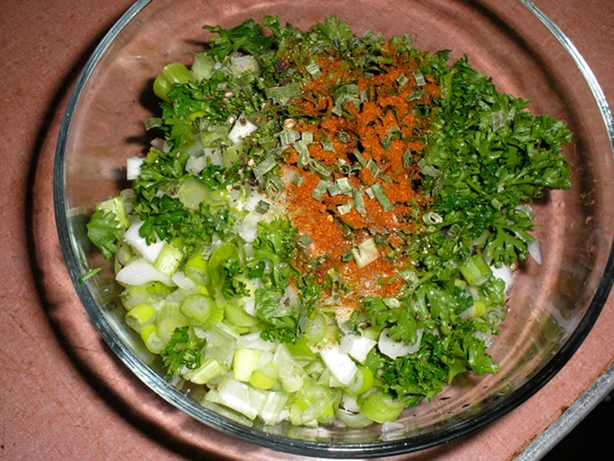
bowl of dip ingredients

I actually do not measure anything, so this is flexible.

I cooked the bacon another night when we had a dish requiring it. I use kitchen shears to cut the raw bacon into a small frying pan, cutting about 1/3 of an inch bits. You can hold the strips all together and cut several at once. Then cook it, stirring often. Of course, you could also cook it in the regular way and then crumble it. I have no idea which is faster or easier. If you aren’t using up the bacon in the package, it freezes well.

More often than not, we have half an onion and/or half a bunch of green onions in the refrigerator left over from some other meal and I just use whatever’s there without measuring it. I like to use more than one kind of onion because it creates a layering of taste. No, I just made that up. It sounds good, though, doesn’t it? I don’t know, it just adds some color to use more than one kind. I have used green and yellow, green and red, red and yellow–it all tastes good.

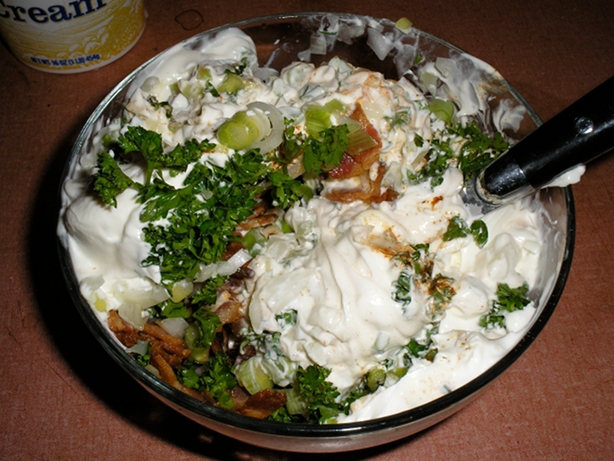
stirring the sour cream in

I used about a third of a bunch of parsley here. This is the regular kind of parsley. The Italian kind is flat. I can’t tell you how they taste different. I tend to plan making this dip when I’m buying parsley for something else and then I just save a little from the bunch.

By “squeeze of lemon” I mean the juice from a half of a baby lemon. Or so. It doesn’t matter. You can leave it out if you don’t have it.

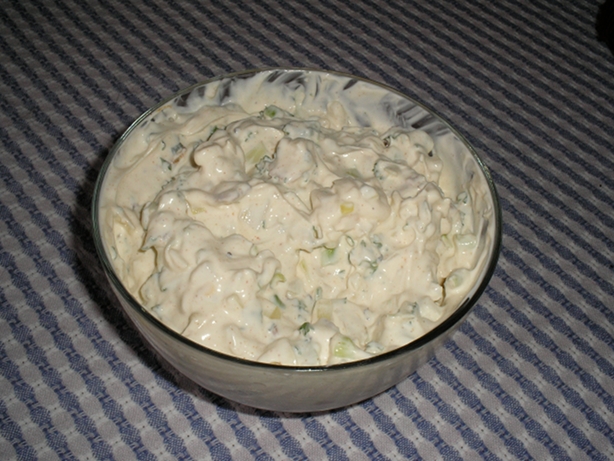
dip ready to serve

We eat it with potato chips or pretzels. It’s kind of lumpy, so it needs a sturdy scooper.

I hope you like it! We won’t be going back to grocery store dip.